| 1. I cut a 6cm wide
carton stripe. The length depends on diameter of
scope tube and should be a little bit longer.
Then I prepared a stripe from black mat wallpaper
of the same size for covering the inner part of
filter body. |
2. Then I wound the
wallpaper stripe around scope tube and trimmed
its length to proper size. Remember, the filter
body must fit to scope tube with some clearance.
Then I sticked the carton on wallpaper. To avoid
snagging and unsticking of wallpaper during using
filter I sticked the carton on wallpaper with
some shift - the ends of wallpaper were on
oposite side to ends of carton. Uf, it was hard
to me to explain it in English. I hope you
understand...
|
3. I prepared a
sticky tape (5cm width) - the type which must be
wet before sticking. This type of tape we used to
use as boys for creating rocket models body. With
help of my wife I started to wind the tape around
the carton stripe - until the thickness of filter
body was about 4-5mm. Then I kept the body to get
dry (several hours) - I left the body on scope
tube, to avoid filter body shape deformations
during getting dry.
After getting dry I cut the borders of carton (carton
was 6 cm, while sticky tape was 5 cm wide). |
4, Then I prepared a
ring from carton - the outer diameter must be the
same as outer diameter of filter body and inner
diameter was 85mm in my case (the objective lens
is 80mm). It causes some vignetting, because the
filter is at the end of dew shield, but I
couldn't afford larger inner diameter, because
the width of the filter ring would be too small.
My filter ring must have inner diameter 85mm and
outer 101mm. Anyway, the vigneting will not be
visible, because with this filter I can observe
only Sun (angular diameter ~0.5°).
I sticked the black wallpaper on the inner side
of ring (which will be sticked on filter body). |
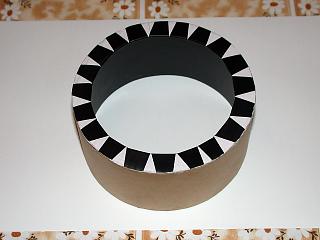
5, The carton ring prepared in step 4 I sticked
on filter's body. The picture shows the front
side of filter body. |
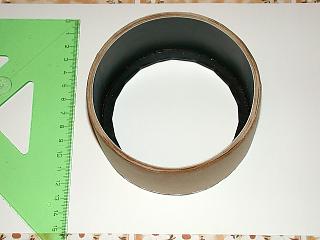
6, This is view to inner part of filter body. |
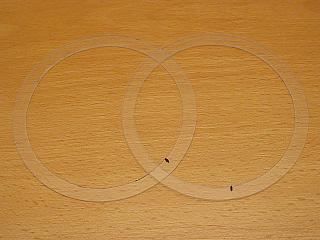
7, The next task was to create filter rings,
which must hold AstroSolar foil. I chose CD cover
plastic as a material for the ring. It is more
solid than carton and is quite slim |
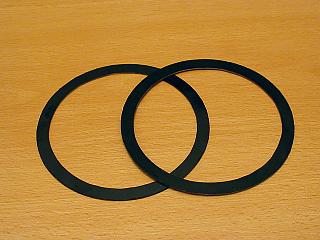
8, I sticked the black wallpaper on the outer
sides of the rings.
Later I put double sided sticky tape to inner
sides of rings - they will hold AstroSolar foil. |
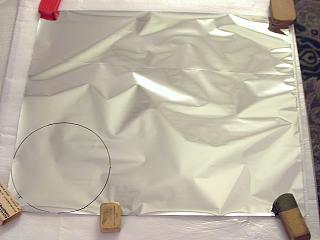
9, Then I prepared AstroSolar foil. I put it on
soft material (used for packaging audio/video
electronics). Then I drew the outer diameter of
filter ring. |
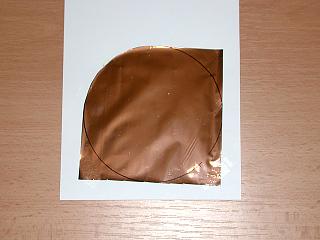
10. For better manipulation I sticked the foil to
carton. It enables to keep it flat.
Then I sticked the foil to one of filter rings (remember
double sided sticky tape in step 8).
Note: The foil has silver color, but some
reflections caused that it looks like brown on
photograph. |
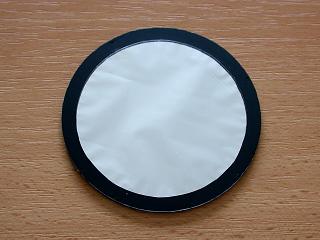
11. I cut the borders of foil (the carton was
automatically removed, because it was sticked on
its borders) and then I sticked the second ring.
The result is nice solar filter. |

12, Then it was time to finish filter body. My
wife created a cylinder jacket from carton and
put it on filter body. Then she sticked the black
wallpaper to outer part of filter body. |
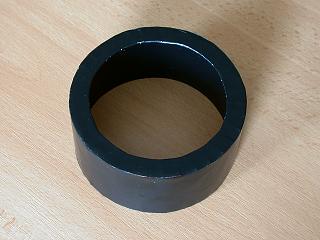
13. The filter body is ready for use |
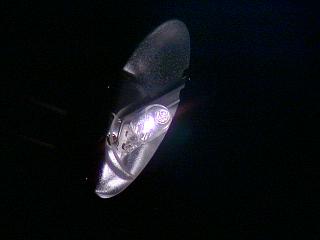
14, The first light for testing came through the
solar filter from our halogen reading-lamp |
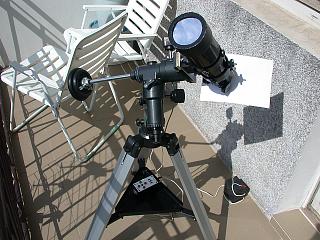
15, Finally, here is my solar observation setup... |
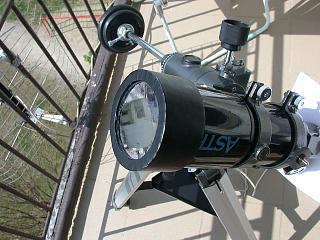
16, ... and detailed view of solar filter |