Cooling Fans
Modification of my 8" Newtonian Telescope
or
How to Enhance "Local Seeing"
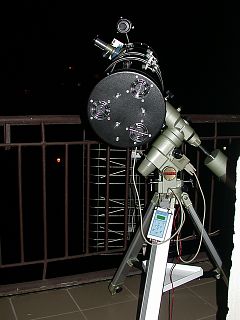 |
I own my Orion
Optics Europa 200 F6
scope almost 2 years. During that time I enjoyed
it very much. But I encountered problems with
seeing. Long time I was in the conviction, that
my problems with turbulence were caused by my balcony
location (in the middle
of block of flats, heat currents from the lower
flats...). But recently I
read very interested message in the Orion Optics
discussion group from Jon Grove, who
tested cooling fans to speed up telescope cooling.
The results were very impressive. I was also
motivated by Dave Scott's telescope modification
and also Chris Heapy
Newtonian modification.
The matter of seeing problem is
that the overall seeing consists of 2 components
- atmospheric seeing and local seeing. While
atmospheric seeing cannot be influenced, the
local seeing condition can be affected. Newtonian
scopes suffer from internal air currents it their
tubes. They are caused by temperature differences
inside tube. As my scope is normally stored
indoors, it takes a long time for getting thermal
equilibrium. In my case the scope must be placed
outside at least 2 hours before observation. In
many cases the ambient outdoor temperature is
changing all the night, so sometimes it is not
possible to get thermal equilibrium at all.
|
The modification of the scope resides
in adding cooling fans to the rear side of mirror cells.
They suck in the air at ambient temperature and blow it
to the back of main mirror and then outside of optical
tube assembly (OTA). Practical tests showed me, that
cooling down process with my fans was shortened from more
than 2 hours only to 20 minutes!!!
The whole modification was done without
any special tools in our kitchen. I write abot this,
because I would like to encourage those owners who
hesitate about the modification.
Parts list:
| Part description |
Type |
Pieces |
| 12V/1.9W cooling
fans (60mm x 60mm x 15mm) |
SUNON KDE1206PHS2 |
3 |
| fan grills |
|
3 |
| power supply connector |
|
1 |
| bolts |
M3x25 |
6 |
| bolts |
M3x30 |
6 |
| nuts |
M3 |
18 |
| washers |
M3 |
12 |
| rubber washers (bought in
waterworks shop) |
M3 |
12 |
| rubber sealing O-ring |
6/4" |
3 |
| old 3.5" black floppy disk |
Verbatim ;-) |
1 |
Construction
photos:
Pictures can tell you much more about the modification
than my English ;-). Click the pictures to see them in
full size.
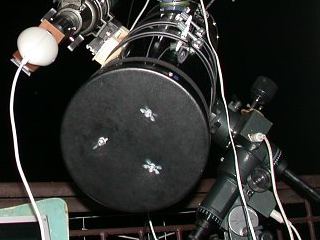
Before modification:
Original back cover with 3 collimation bolts and
nuts |
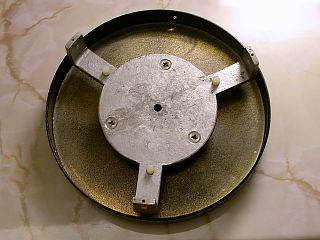
The primary mirror cell mounted to back telescope
cover. The primary mirror is removed. |
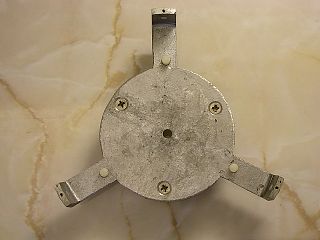
The primary mirror cell dismounted. It remains
untouched during all modification. |
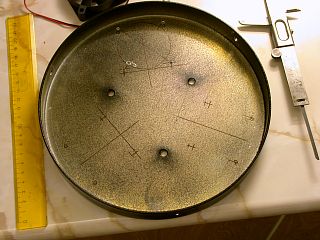
Back cover without primary mirror cell. The holes
for motors are drawn. |
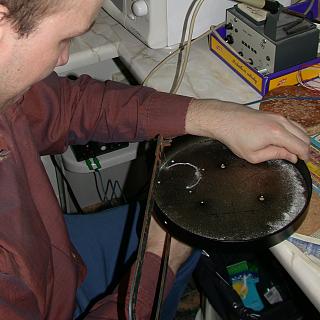
The most time consuming process was cutting the
holes for fans. I used jigsaw. |
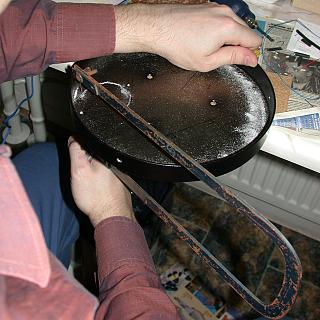
While the first hole cutting took me about 40
minutes, the third hole was done in 20 minutes
:-) |
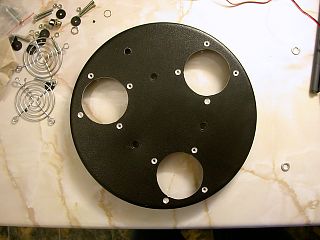
Finally the holes for fans are cut. Also conical
openings for sinking M3 bolts were drilled.
Now we can start to mount fans grills. |
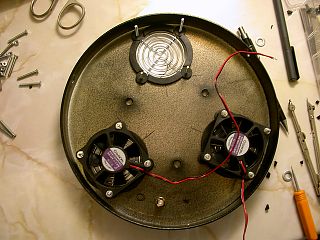
Fan grills are mounted from inner side of back
cover. The fans are isolated from the back cover
by rubber washes - to suppress vibrations.
Because of gap between fan and cover (created by
mounting grills and rubber washers) the O-ring
rubber sealings were added around fans perimeters
(O-ring were cut into 4 pieces). |
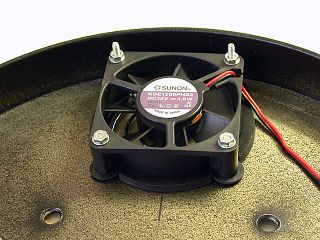
Detail of fan mounted. You can see rubber washers
and O-ring mounted.
The inner bolts were shortened to 23mm to keep
them from touching primary mirror cell. |
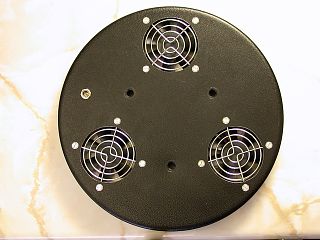
View from outer side of back cover. You can see
fan grills mounted. |
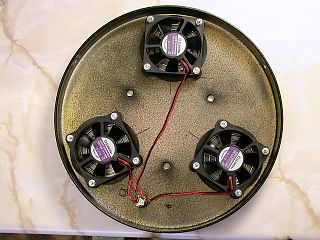
All fans are mounted, so we can create light
shields.
|
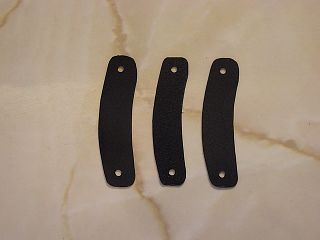
Light shields cut from old defective 3.5"
floppy disk. They prevent light from entering
into OTA. |
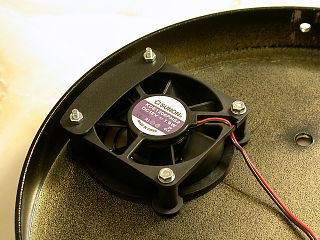
Light shield mounted. |
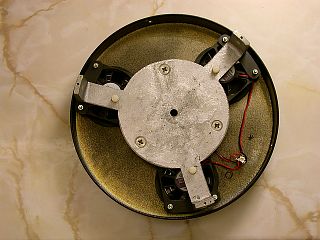
Mirror cell on its place again... |
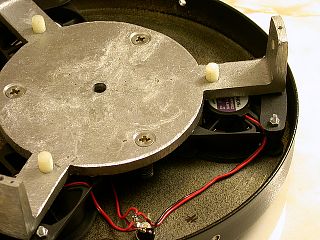
Detailed view of modification. Modification is
almost finished - it remains to put the main
mirror to its cell and mount the back cover to
OTA.
Don't forget to collimate the scope!!. |
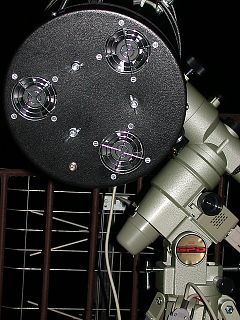
The modification is done!!! |
My first tests confirmed, that
modification is really useful. The scope was cooled down
in 20 minutes and I could see Cassini division of Saturn
inspite of its low altitude (30° above horizon).
Unfocused star showed very nice diffraction rings, so I
was able to collimate the scope without problems.
As the construction of back cover is
open now, I also tested the behaviour of the scope when
direct light is applied to back cover. I used battery
torch for my tests. When torch was applied directly to
fan holes, I noticed some reflections, inspite of light
shields were installed. The reflections originated in
glass of main mirror.
I plan to use black textile (used for speaker boxes) for
covering the fan holes. I did preliminary tests with it
and I am totally satisfied.
Out of doubts, I am very satisfied with
the modification. Now I have to wait for better weather
for deeper tests.
Back to Equipment page
Computer generated images,
real images, drawings and texts are property of the
author and may not be reproduced or used without
permission of author.

Last Update:
01.04.2003
|